Whether you are decorating, changing a room layout, or swapping in a new radiator, removing one safely is a manageable DIY job with the right tools and a bit of patience. This guide walks through the full process, step by step.
How Do You Remove a Radiator?
To remove a radiator, turn off the heating and let it cool, close both the thermostatic and lockshield valves, bleed the radiator to release trapped water and air, then unscrew the valve nuts and lift the radiator off its wall brackets. Working slowly and keeping towels and a bucket ready avoids most of the mess this job can involve.
What You Will Need
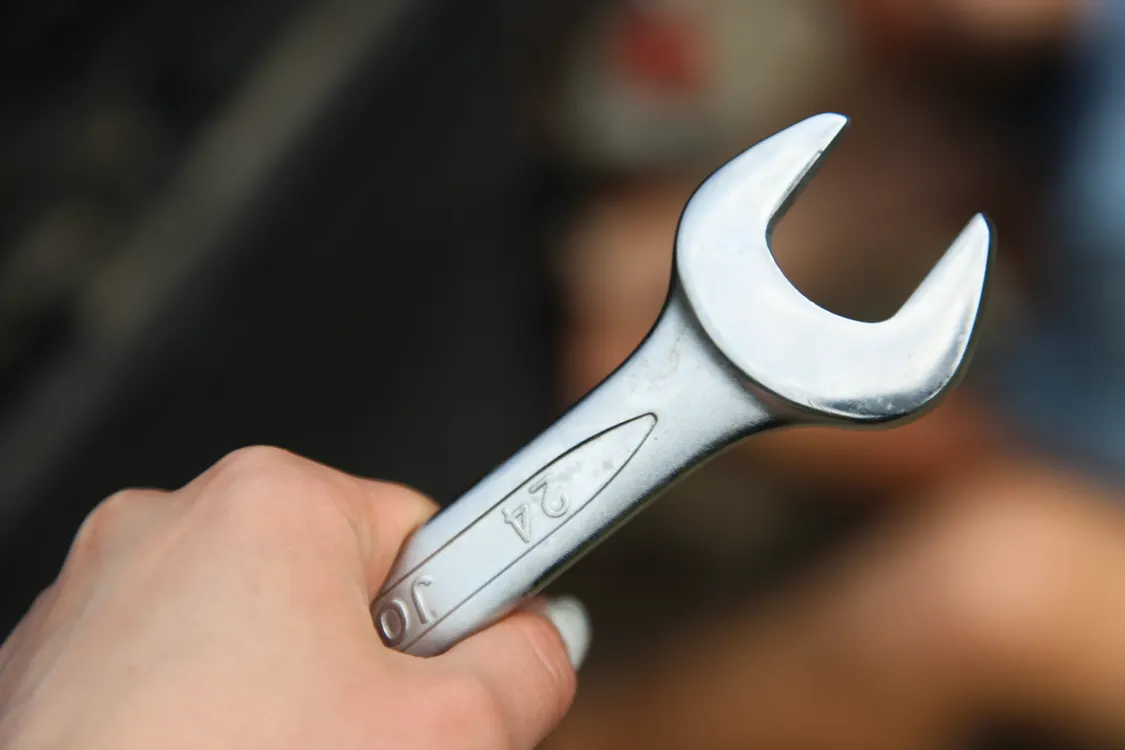
- Adjustable spanner or two wrenches
- Radiator bleed key
- Old towels or dust sheets
- A bucket or shallow tray
- A helper, for larger or heavier radiators
- Radiator plugs or clamps, if the radiator will be off for more than a day
How to Remove a Radiator: Step by Step
1. Turn Off the Heating and Let It Cool
Switch off your central heating fully and wait until the radiator and pipework are cool to the touch. Working on a hot system risks scalding from pressurised hot water.
2. Protect the Floor
Lay towels or dust sheets under the radiator and around both valves. Radiator water is often dark and can stain flooring, so this step is worth doing properly before anything else.
3. Close the Thermostatic Valve
Turn the thermostatic radiator valve (TRV) fully down to zero. If your radiator has an older wheelhead valve instead, turn it fully clockwise to close it.
4. Close the Lockshield Valve
Remove the plastic cap from the lockshield valve on the opposite side. Using a spanner, turn it clockwise until fully closed, counting the number of turns as you go. This matters if you plan to refit the same radiator later, since it lets you return the valve to its original setting for balanced heating.
5. Bleed the Radiator
Use a radiator key to open the bleed valve at the top. You will hear hissing as trapped air escapes. Have a bucket ready underneath, since water will follow shortly after. Close the bleed valve once the hissing stops.
6. Disconnect the Valve Nuts
With a bucket positioned under the first valve, use two spanners, one to hold the valve steady and one to loosen the nut connecting the radiator, and slowly unscrew it. Water will drain out, so take this slowly. Repeat on the second valve.
7. Drain Any Remaining Water
Once both valve nuts are disconnected, gently tilt the radiator to one side over your bucket to drain any water left inside. There is often more residual water than expected, so keep towels close by.
8. Lift the Radiator Off Its Brackets
With both valves disconnected and the radiator drained, carefully lift it upward and away from the wall brackets. Larger or double-panel radiators are heavier than they look, so get a second person to help if needed.
9. Cap the Open Valves
If the radiator will be off the wall for more than a short time, fit radiator plugs or clamps to the open valve ends to stop any residual water leaking and to keep the system sealed.
When Is the Best Time to Do This?
Where possible, plan radiator removal for the warmer months, so you are not without heating in that room during colder weather. If the work is unavoidable in winter, plan to refit the radiator, or cap the valves properly, on the same day to minimise disruption.
If your radiator has been showing cold spots rather than needing full removal, our guide to bleeding a radiator covers a much simpler fix worth trying first.
Frequently Asked Questions
Do I need to turn off my boiler to remove a radiator?
Yes. Turn off your central heating system fully and let the radiator and pipework cool before starting, to avoid contact with hot, pressurised water.
How much water comes out when you remove a radiator?
It varies by radiator size, but expect anywhere from half a litre to several litres, plus residual water and sediment that drains out when you tilt the radiator. Keep a bucket and towels ready throughout.
Can I remove a radiator on my own?
Smaller single-panel radiators are usually manageable alone, but larger or double-panel radiators are heavier than they appear and are safer to remove with a second person helping to lift.
Do I need to drain the whole heating system to remove one radiator?
No. Closing both the thermostatic and lockshield valves isolates a single radiator from the rest of the system, so you only need to deal with the water contained in that radiator, not the whole system.
What if my radiator does not have a lockshield valve?
Some older radiators use two similar-looking valves rather than a distinct TRV and lockshield. In this case, close both valves fully by hand or with a spanner before starting the disconnection process.
If you are ever unsure about isolating your heating system safely, or the valves will not close fully, stop and call a qualified plumber rather than risk water damage.
About the Author
Spire Homes Editorial Team researches and writes practical, UK focused home improvement guides covering renovation planning, financing, interior design, and property maintenance. Our content is reviewed for accuracy and updated as guidance changes.