The difference between a painted room that looks professionally finished and one that looks like a rushed DIY job usually comes down to preparation, not skill with a brush. This guide covers the exact sequence professional decorators follow, so your next paint job holds up to a close look.
How Do You Paint a Room Like a Professional?
To paint a room like a professional, prepare the walls properly first, protect the room, cut in the edges with a brush before rolling, work top to bottom starting with the ceiling, and always apply a second coat once the first has dried. Most of the visible difference in quality comes from preparation and technique, not the paint itself.
What You Will Need
- Good-quality paint and primer, if needed
- An angled sash brush for cutting in
- A roller with a suitable nap, typically 3/4 inch for walls
- Painter’s tape
- Canvas drop cloths
- Filler or caulk for cracks and holes
- Fine-grit sandpaper (around 220 grit)
- A damp cloth for cleaning surfaces
How to Paint a Room: Step by Step
1. Clear and Protect the Room
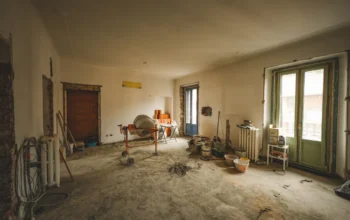
Move furniture to the centre of the room or out entirely, and remove curtains, rods, and any wall fixtures where possible. Cover remaining furniture fully with plastic sheeting, taping the edges to stop splatter reaching underneath. Use canvas drop cloths on the floor rather than plastic sheeting, since canvas grips better and will not become a slip hazard.
2. Remove Fixtures and Fittings
Take off switch plates, socket covers, curtain hardware, and any other removable fittings. Keep screws and small parts together with each item so nothing gets lost or mismatched later.
3. Repair the Walls
Fill any cracks, holes, or dents with filler or caulk using a putty knife, then leave it to dry fully according to the product’s guidance. Rushing this step is one of the most common reasons a finished paint job still shows imperfections.
4. Sand and Clean
Once repairs are dry, lightly sand the patched areas with fine-grit sandpaper until smooth. Wipe the walls down with a damp cloth to remove dust and any grease, then let them dry completely before taping or painting.
5. Apply Painter’s Tape
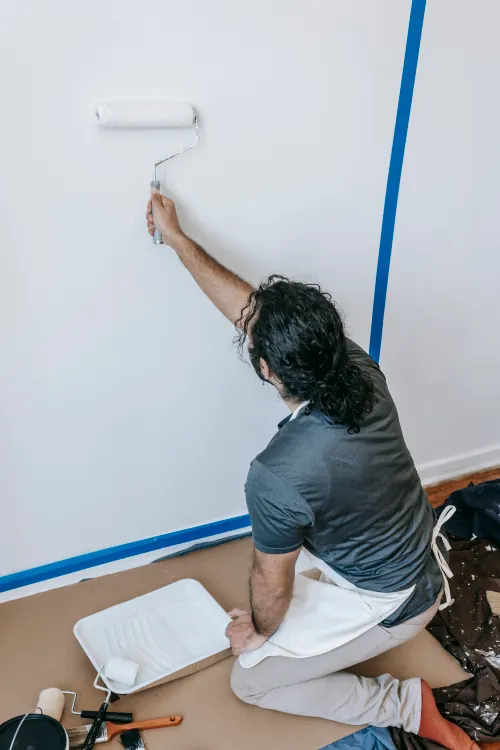
Tape around skirting boards, window and door frames, and any switch plates or sockets left in place. Press the tape down firmly along the edge to stop paint bleeding underneath.
6. Test Your Colour
Paint two coats of your chosen colour onto a foam board or a small section of wall before committing to the whole room, since colours often look different once applied than they do on a colour chart or swatch.
7. Cut In the Edges
Using an angled brush, paint a careful border around the edges where the wall meets the ceiling, skirting, and corners, before you bring in the roller. Clean, straight cutting in is one of the clearest signs of a professional finish.
8. Paint the Ceiling First
If the ceiling needs painting, do this before the walls, working in manageable sections, roughly three feet by three feet, with slow, even strokes. Painting top to bottom means any drips land on surfaces still to be painted, rather than on finished work.
9. Roll the Walls
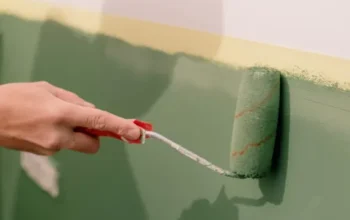
Load the roller evenly and apply paint in a W or M shape to fill an imaginary square, then go back over the area to spread it evenly and blend into the wet edges of the adjacent section. Finish each section with light, parallel strokes to even out the texture.
10. Apply a Second Coat
Let the first coat dry fully, typically two to four hours depending on the paint, before applying a second coat. A second coat is almost always worth doing for the most even, professional-looking finish, even if the first coat looks reasonably solid on its own.
11. Remove Tape While the Paint Is Still Slightly Wet
Pull painter’s tape away while the final coat is still slightly tacky rather than fully dry, at a 45-degree angle. Removing tape from fully dried paint risks pulling the paint away with it, leaving a jagged edge.
Common Mistakes That Give Away a DIY Job
- Skipping wall repairs: painting straight over cracks and holes rather than filling and sanding them first.
- Rushing the cutting in: uneven or shaky edges are one of the most noticeable signs of a rushed job.
- Only applying one coat: a single coat often looks patchy once fully dry, even if it looked fine when wet.
- Removing tape too late: waiting until the paint is fully dry risks pulling paint away with the tape.
- Using low-quality tools: a cheap roller or brush can leave visible texture and shed bristles into the paint.
If you are planning a wider room refresh alongside repainting, our home interior design guide covers colour palettes and layout principles that work well together. If your fireplace surround also needs attention, our guide to cleaning a fireplace surround covers the right approach by material.
Frequently Asked Questions
Should I paint the ceiling or walls first?
Paint the ceiling first, then trim and woodwork, and finish with the walls. Working top to bottom means any drips are covered by paint applied later, rather than landing on already-finished surfaces.
Do I really need two coats of paint?
In most cases, yes. A second coat gives a more even, opaque finish and covers any patchiness left by the first coat, particularly with lighter or more saturated colours.
When should I remove painter’s tape?
Remove tape while the final coat is still slightly tacky, not once it has fully dried, to get a clean edge without risking the paint pulling away with the tape.
How long does it take to paint a standard room?
A standard bedroom-sized room typically takes a full day for preparation and a further day for painting and cleanup, assuming some basic painting experience. Rooms needing significant repair work may take longer.
Do I need to prime before painting?
Priming is generally recommended for new plaster, significant colour changes, or heavily patched walls, though many modern paints include a built-in primer for straightforward like-for-like colour changes.
Always ensure good ventilation while painting, and follow the manufacturer’s guidance on drying and recoat times for your specific paint product.
About the Author
Spire Homes Editorial Team researches and writes practical, UK focused home improvement guides covering renovation planning, financing, interior design, and property maintenance. Our content is reviewed for accuracy and updated as trends change.